
By Robert Lott
These are photos of the buildup of my Mosquito catamaran. Grey Matter.
Before building a boat you should realize it is going take a long time to build – don’t expect to have it ready in a couple of months. You should also get some reading material.
- Gougeon Brothers on Boat building. Cost about $60+
- Brian Dixon’s easy plywood scarf cutting technique
- Building an A cat
- And a set of plans from the VMCA $90
You will require some knowledge of hand and power tools.
Contact the VMCA for Beams and Mast.
You will also need to know what centre boards you are going to use before making your plate case.
This boat was put together using the plans drawn up for the association by Phil Pearce.
Below is a rough price list.
| Plans | $ 90 |
| Ply 3mm 2400×1200 $30 a sheet 6 required | $180 |
| Resin and thinners and glass tape | $150 |
| Cedar | $110 |
| Paint | $350 |
| Foam 3 sheets $20 each | $ 60 |
| Money for other things, e.g. sand paper | $150 |
About $1090 for a set of hulls. And a lot of time.
So if you spend more than 300hrs building your boat, (easily done) and your time is worth $25 an hour it is cheaper to buy a new glass boat. Build a boat only if that is what you really want to do. Don’t do it as a cheap option.
 |
Deck Jig |
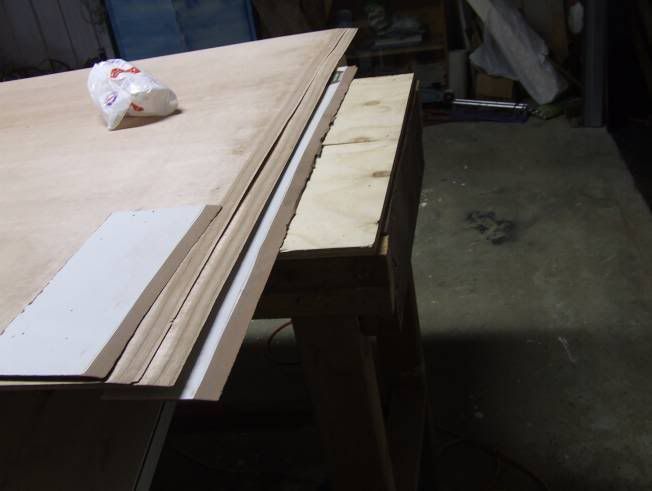
Setting up to scarf the timber use a beam down one edge to make it square
Timber scarfed
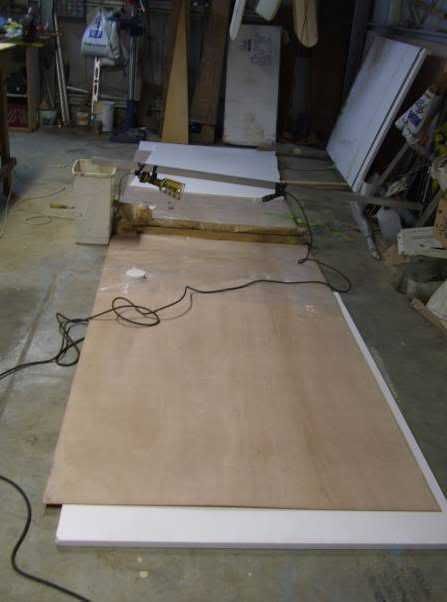 |
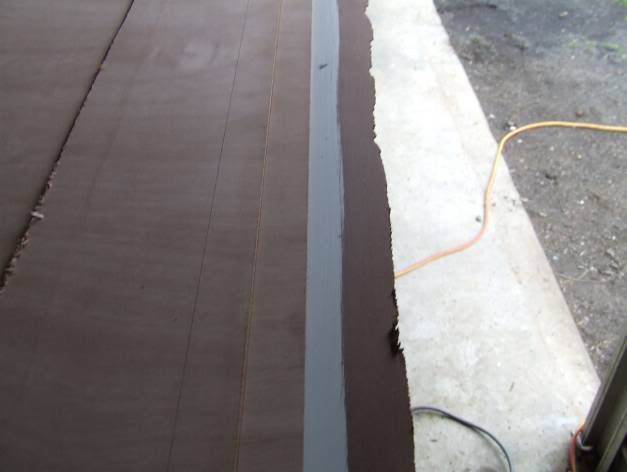
Setup the sheets of ply on a foam base to insulate from the concrete floor, use a beam to get a straight edge. |
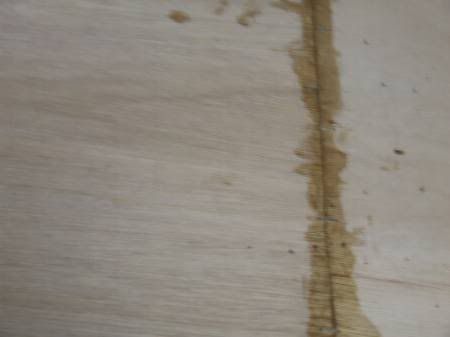 |
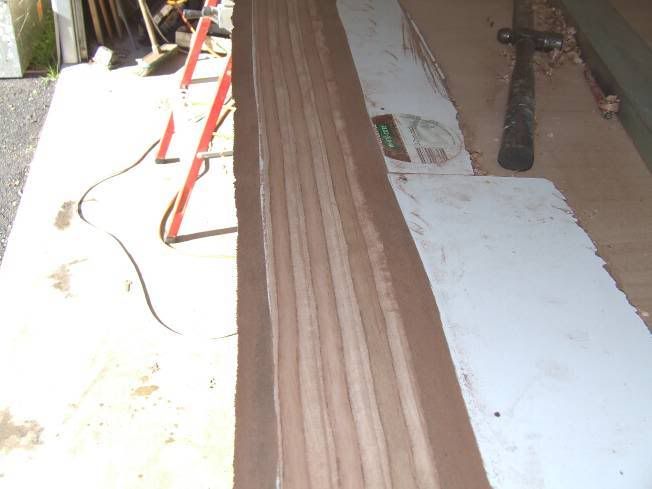
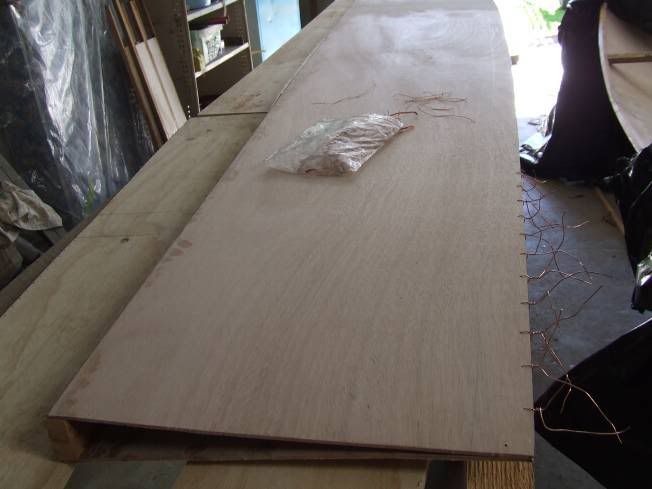
Finished scarf joint, pull out staples and clean off excess resin with a file |
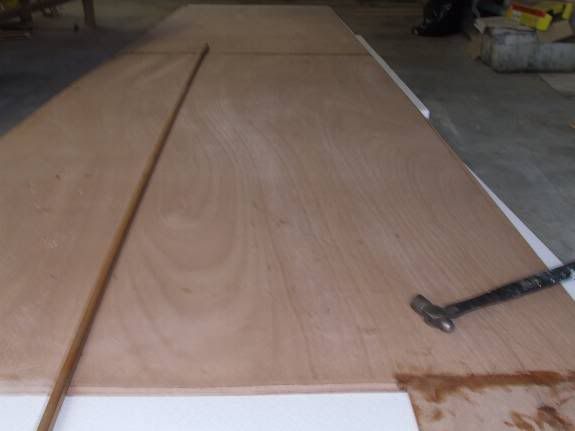
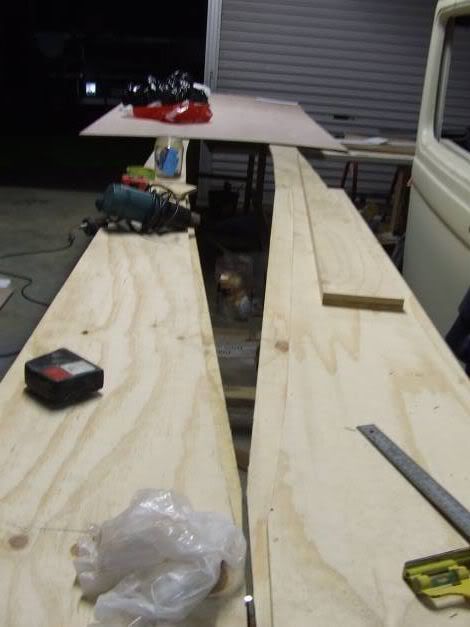
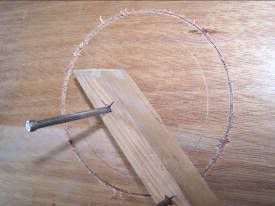
Mark out hull shape; use a beam to get a straight datum line.
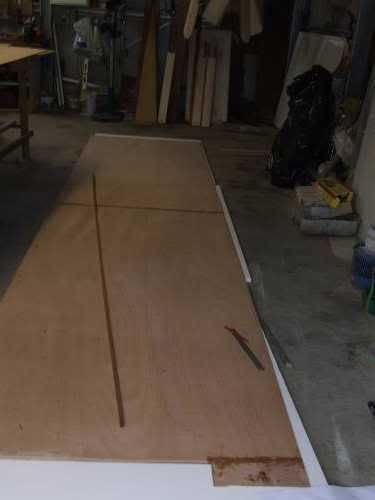 |
As seen here if using 2400×1200 sheets an extra scarf has to be added, the scarf joint doesn’t have to run the full length of the sheet. |
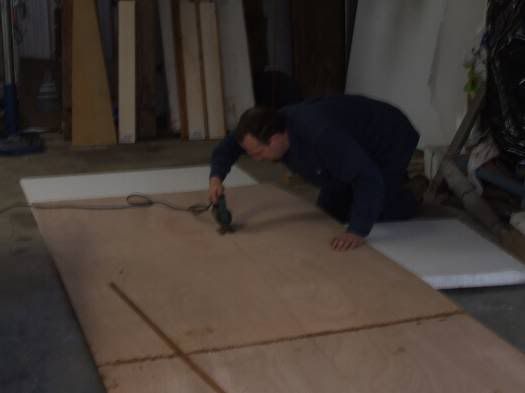
Using a jig saw cut out shape leave about 3-5mm outside the line and clean up with a hand pane and sandpaper.
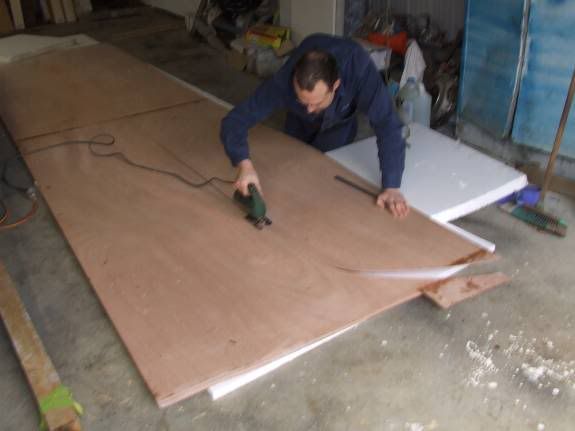
I used a scrap piece of foam from the foam supplier to give clearance for the saw blade, so I did not damage the good foam. When cut out and shaped use the first piece as a template for the other 3 hull sides, roughly cut out the sides (within 5mm). Hold all the hull sides together down on deck jig or large bench. Make sure that they all line up correctly, and are secured with a couple of nails or clamps. Use a router with a trimming tool bearing at top, and trim up the other three sides, making each side identical. Whilst clamped together drill holes for tie wire.
Glue inwales to each hull, making sure you have picked the best sides for the outsides. When dry wire up hulls.
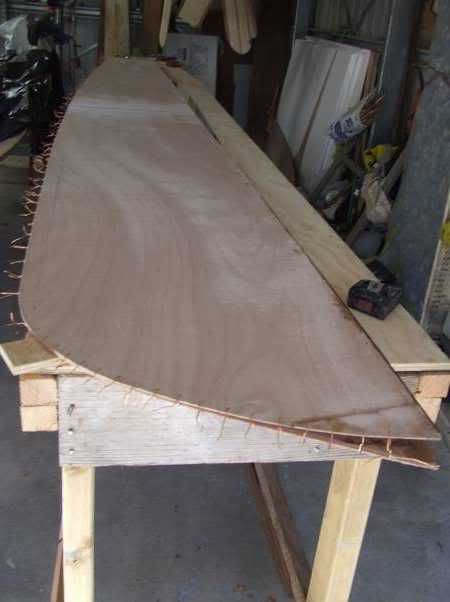 |
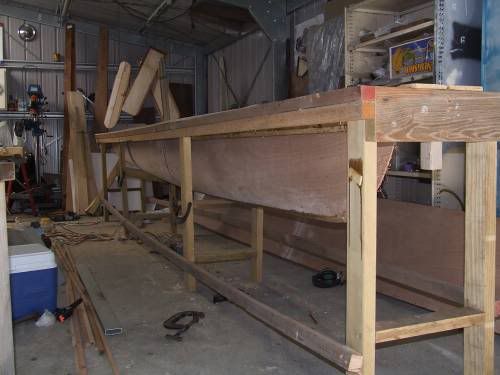
Hull on deck jig waiting to be spread open and fibreglassed, note the gray lead line for the tape. |
 |
Transom jig installed, spreader bar fitted, keel line taped up. |

Remove all twist in the hull use a spirit level on the spreader bar. And set the transom jig up level. The bow was tied up to the roof.
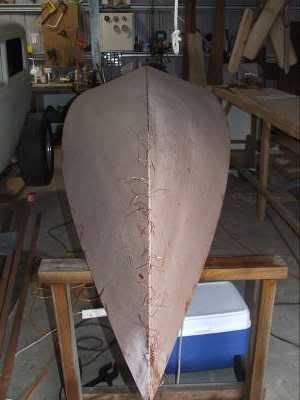 |
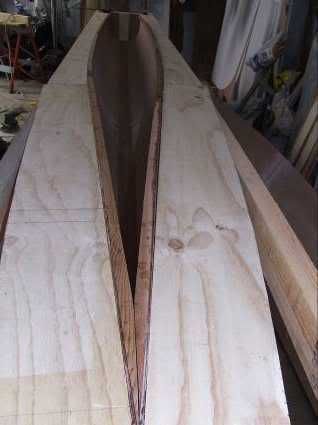
After curing turn over, cut off tie wire and sand down keel line, leave the tie wires intact at the bow. |
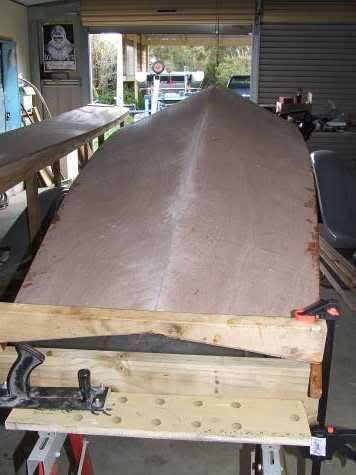 |
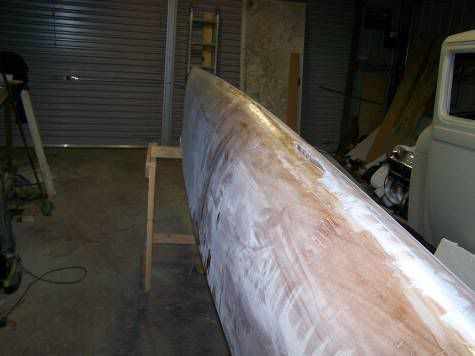
Sanded down ready for taping |
 |
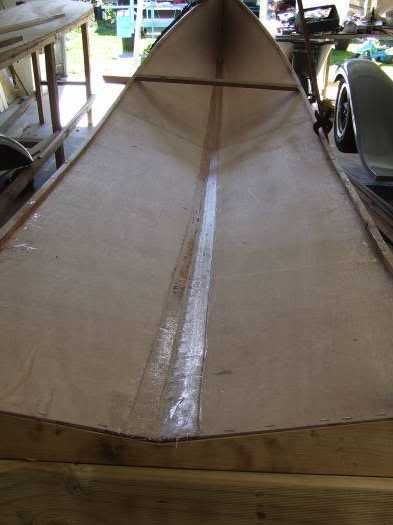
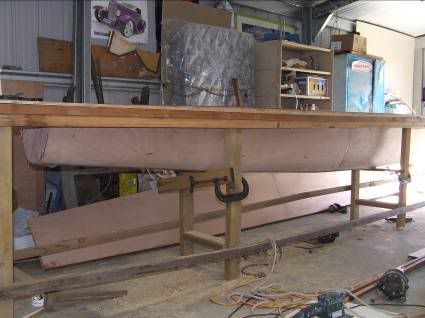
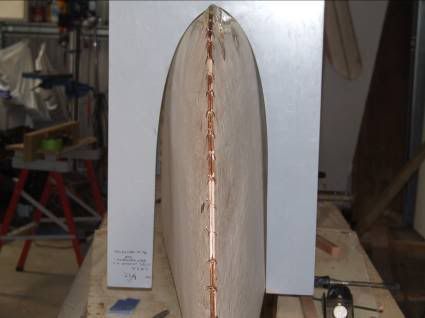
Hull taped up ready to be tied up and put in jig. |
Remove transom jig turn over and use rope to tie up the hull slowly tighten up the ropes take care not to rush this step as you will crack the ply. I used a steam cleaner, used for steam cleaning kitchens (black and Decker I think) to soften the timber and glue at the bow, from the keel line up about 150mm Steam at the transom as well, around the keel line and up. Install transom with wire ties. And fit hull to deck jig. Bow first and push slowly forward. Take your time with this step.
 |
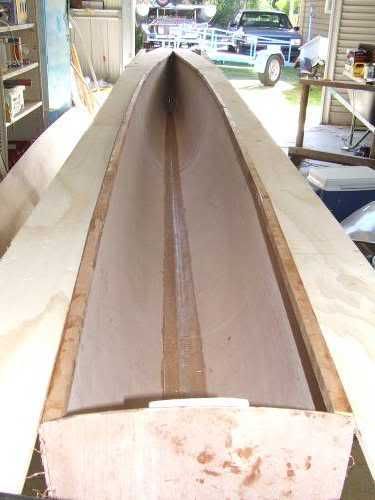
Hull in deck jig with timber braces to stop the hull falling through. |
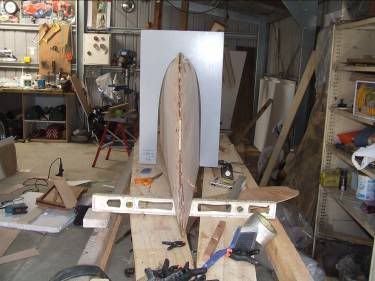
Front view of hull in deck jig
 |
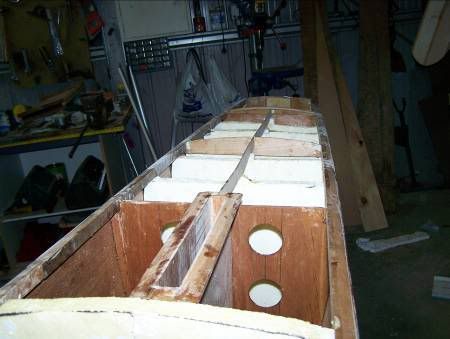
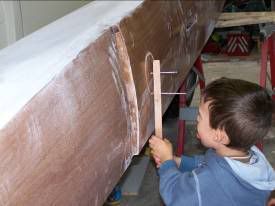
Install hull doublers at main beam. Use timber prop to spread the hull doublers to the hull sides. Make sure hull is level in jig. |
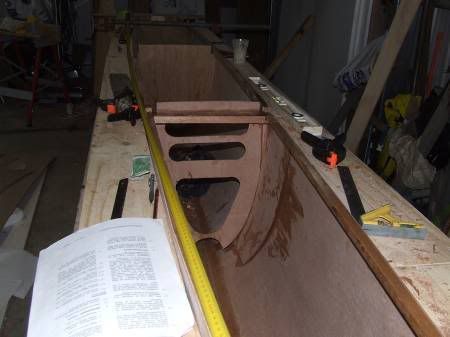
Use a tape measure from the bow to check the position of both sides of hull.

Trim down inwales and fit beam block in use a level to check. Main beam frame installed.
Cut down inwales and insert rear beam block and rear frame a small hull doublers was used at the rear beam. 75mm radius.
 |
After all the frames were installed the hull was removed from the jig and the shape was checked against the association?s templates. |
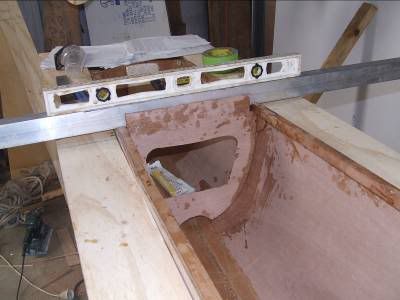
Keel line filled and hole for centerboard cutout.
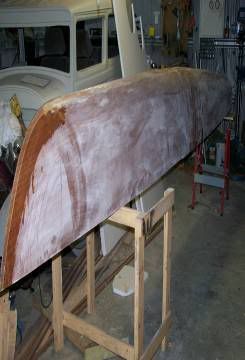 |
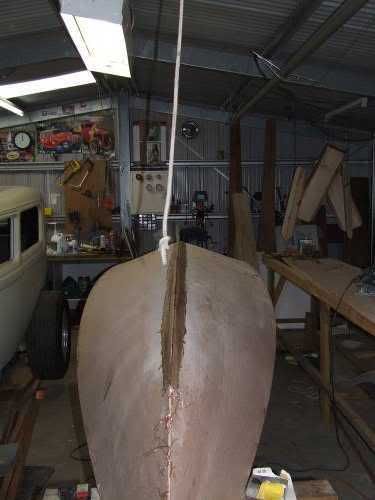
Outside of bow taped up. |
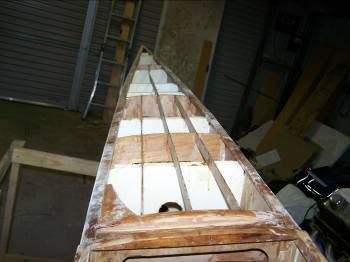 |
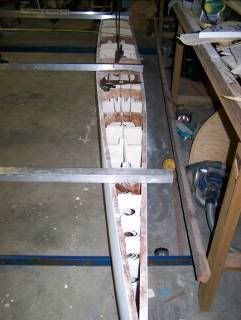
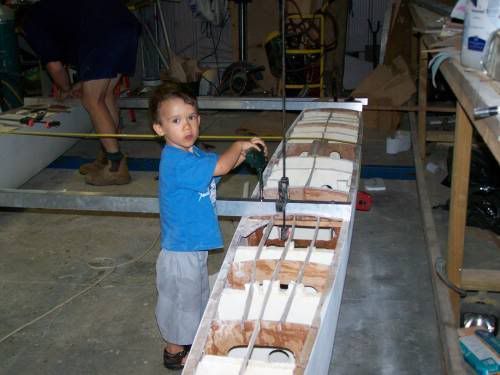
Shown are the forward deck stringers and vertical foam. |
Show here plate case back and vertical foam.
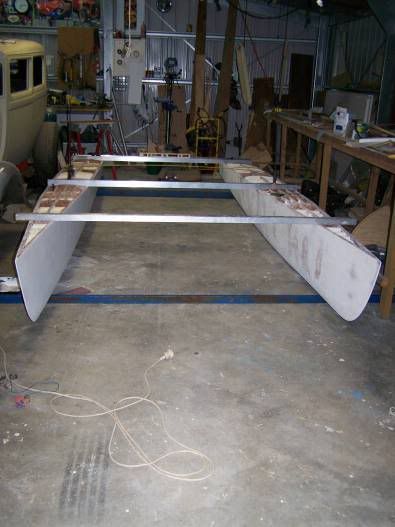 |
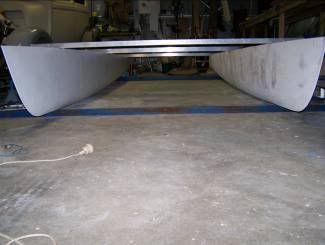
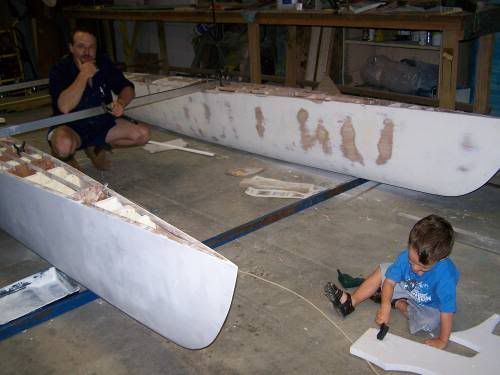
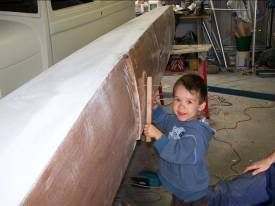
Hulls on floor set square and level, beams cut and drilled. |
 |
When square and level use clamps to hold tight in position. |
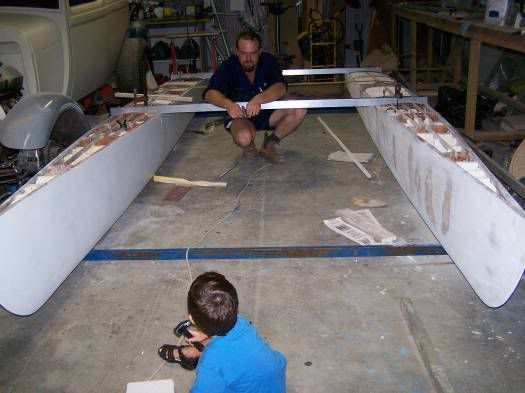
Tell your hired help what to do next.
And see them ignore you.
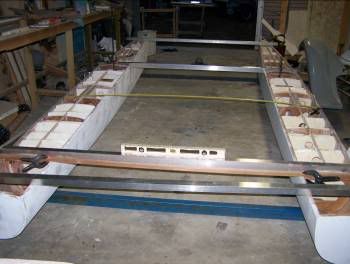
Drill holes through beam block.


Fit decks.
Cut out hole for hatch covers. Instead of using the, I beams or double decking the centre deck you can used fiberglass on the inside of the centre deck, to keep the weight down.
Finish painting. Fit beams, tramp track and tramp deck, set up rudders and rig and go sailing.